Tiny Jungle Cruise Model
 Mitch
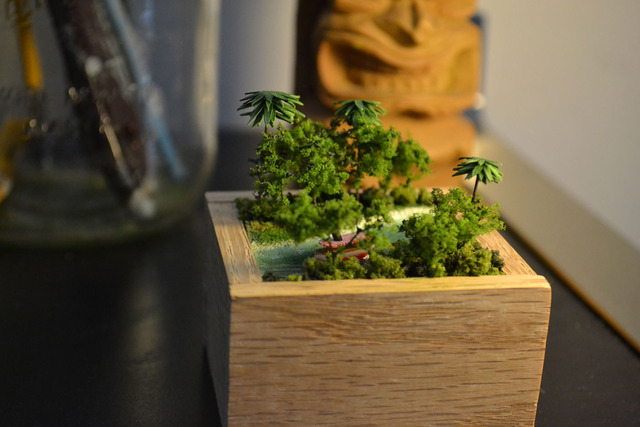
Mitch I recently decided to make a little Jungle Cruise model for my home office. I'd like to share the process in case others might want to do something similar.
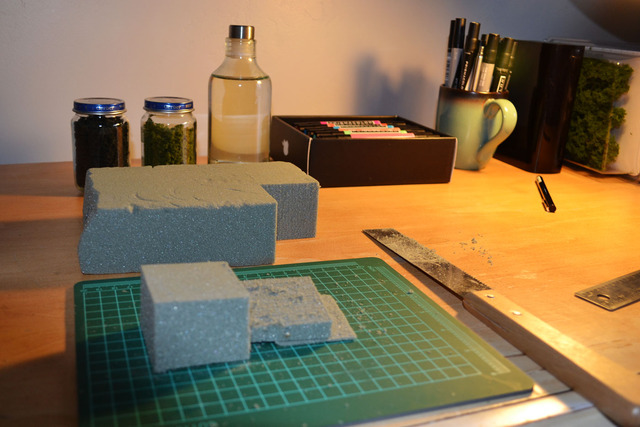
I started by cutting a 2"x2"x1.5" block out of floral foam. You know, the stuff you put at the bottom of vases of fake flowers.
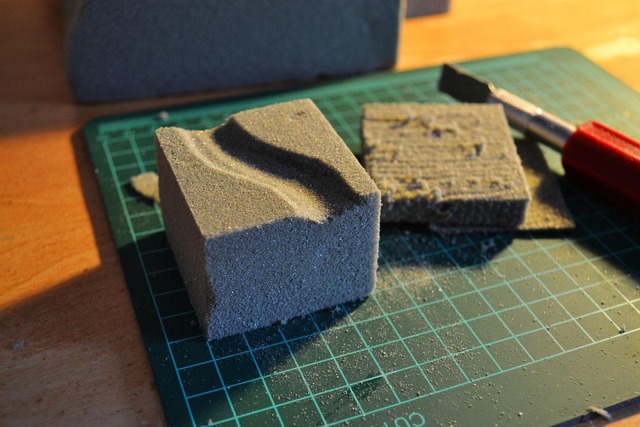
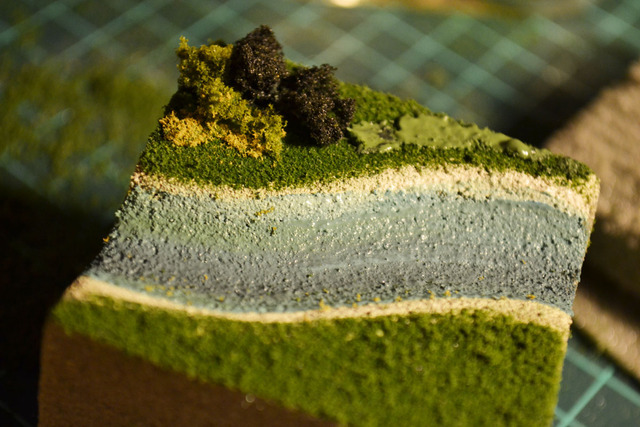
I then carved a waterway.
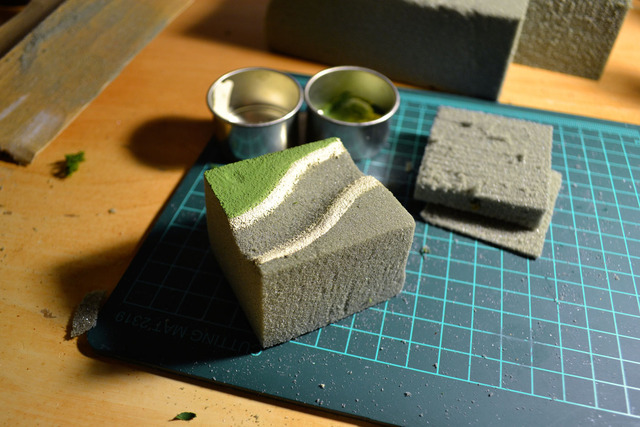
Applied paint.
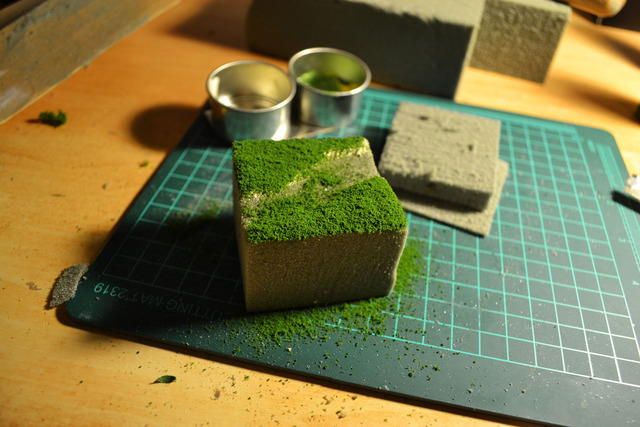
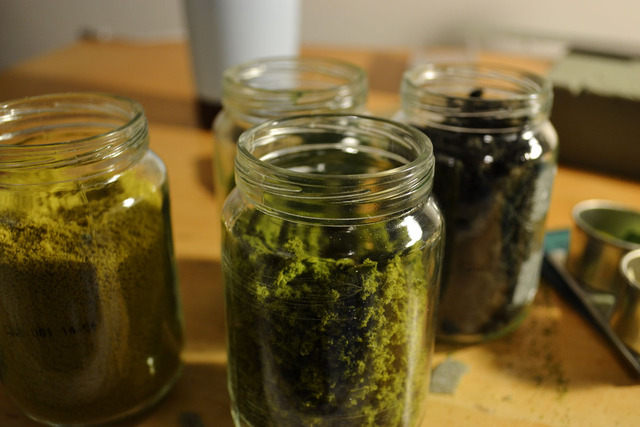
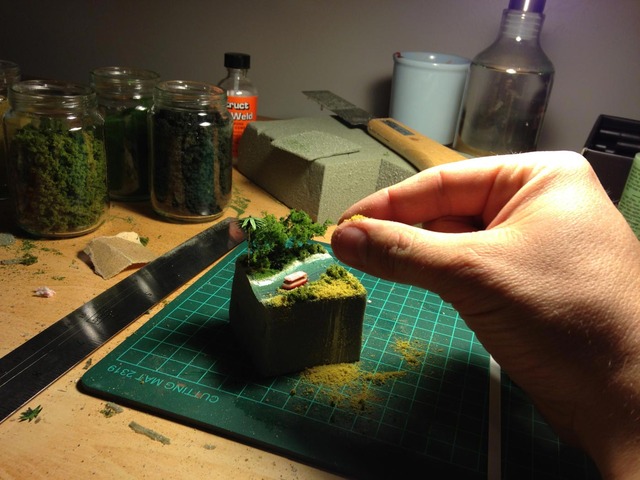
Sprinkled generous amounts of fine modeling turf onto the fresh green paint. Once dry, I blew it off.
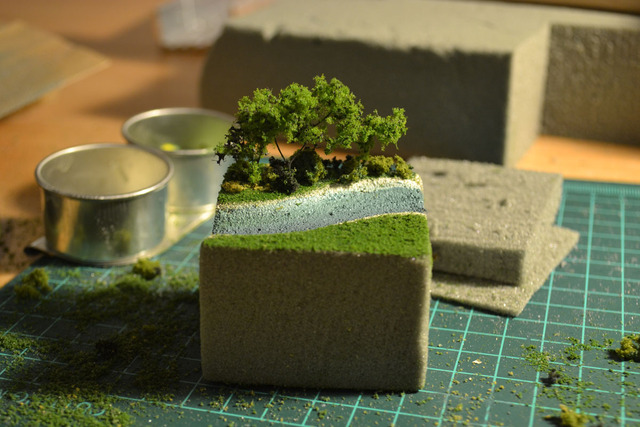
Added additional paint and modeling shrubs.
These spiffy little trees are called Fine-Leaf Foliage and come in large clumps. They are a product of Woodland Scenics and can be found at your local hobby store.
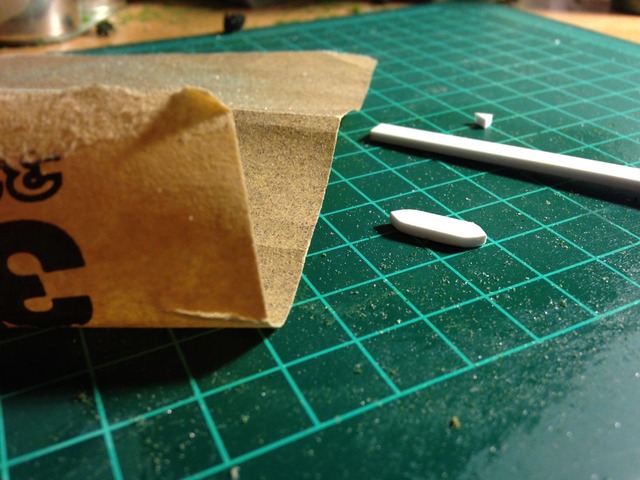
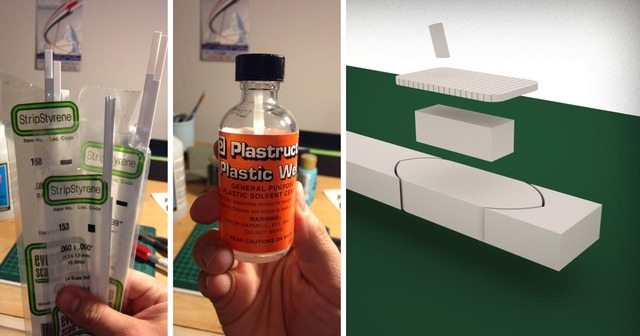
I chose to construct the tiny Jungle Cruise boat (old-style) from styrene plastic strips.
Boat Construction Update: Since the initial post, several people have asked for more information about the boat construction. The following image might help. The boat is made up of only four pieces of styrene. Use the appropriate sizes of styrene strips to cut each piece. Gently score lines into the top and sides of the canopy with a blade. When joining styrene, hold any two unpainted pieces together and brush a small amount of solvent along the seams. No need to add solvent between pieces before joining. Note: Solvent isn't a glue. It actually melts the styrene pieces together then evaporates away.
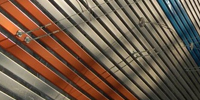
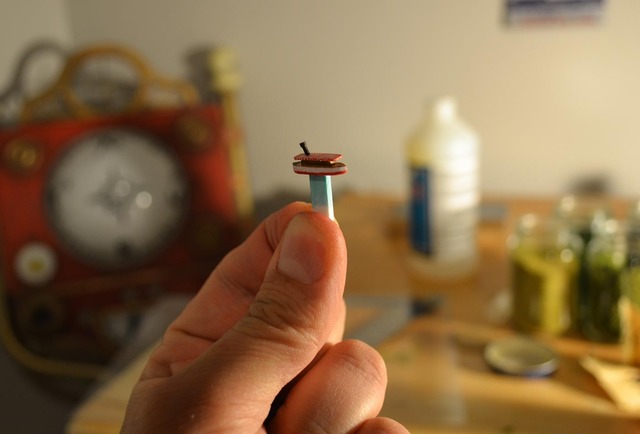
Painting the red stripes on the canopy was a bit tricky. I painted the entire top and sides red, making sure the red paint fulled each tiny little groove. Before the paint was dry, I wiped off each surface. The paint inside the grooves remained in place.
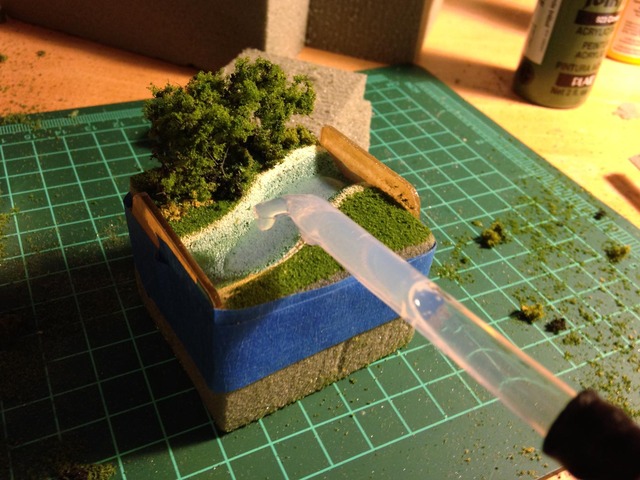
After the waterway paint was dry, I added a liquid product called Realistic Water, also from Woodland Scenics.
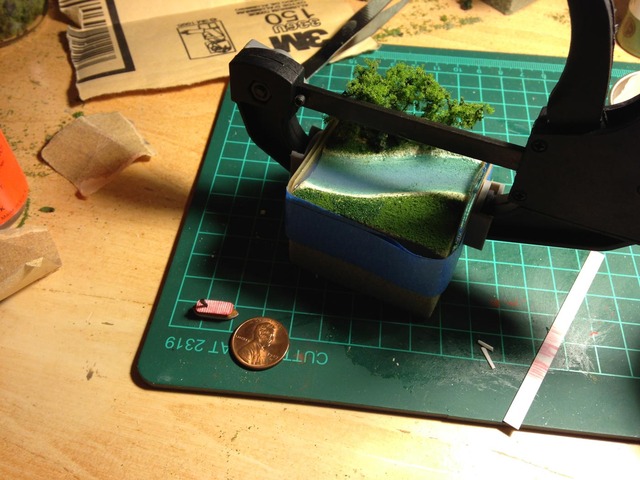
Several thin layers later, the waterway is nice and dry and very clear. Notice how the boat measures up to a penny?
More foliage.
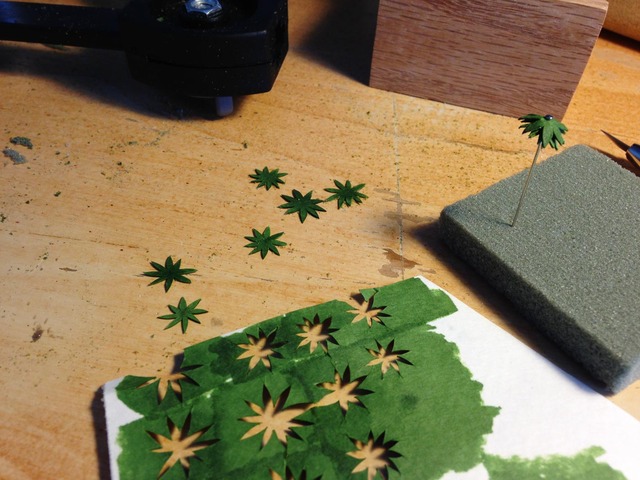
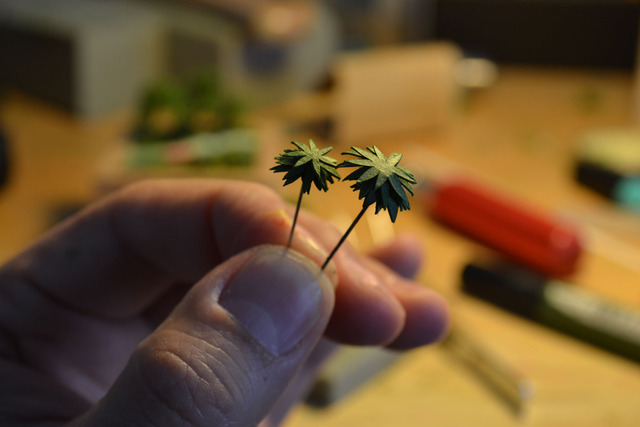
Tiny palm trees at this scale can be difficult to find. Had to make my own out of straight pins and watercolor paper colored with a Prismacolor marker.
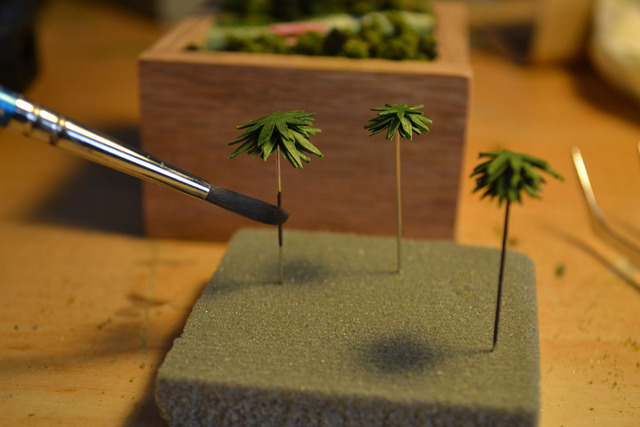
Painted the pins.
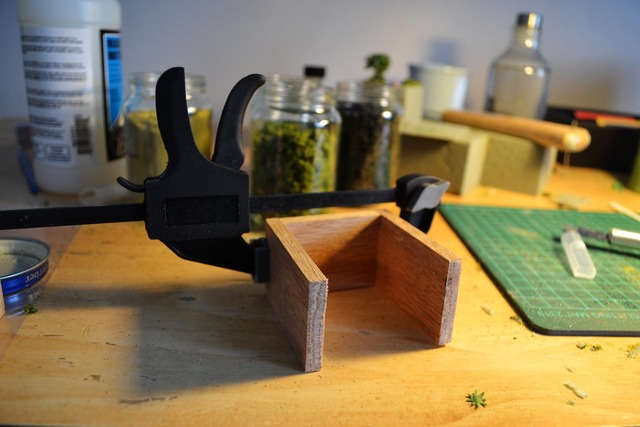
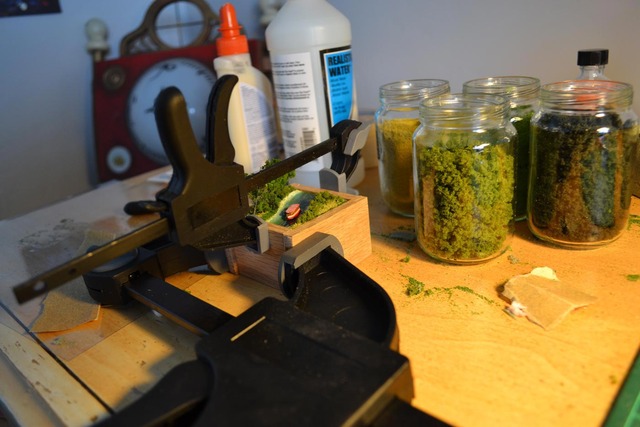
For a sturdy frame, I purchased a strip of a nice wood at the hardware store and cut it to fit.
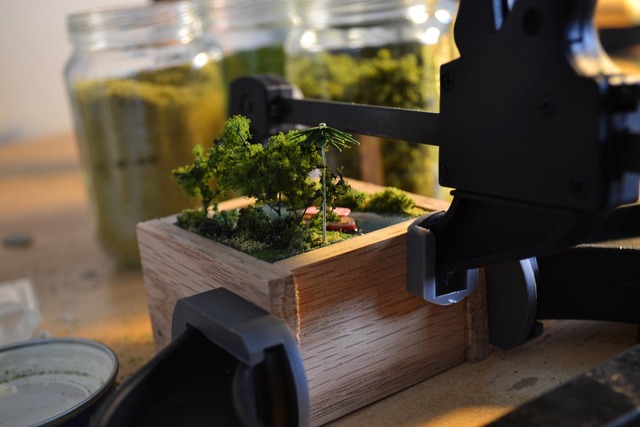
Glued the frame in place.
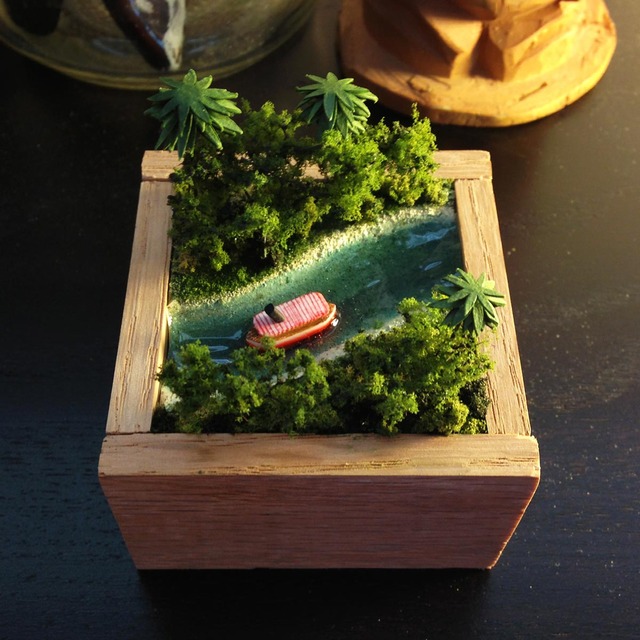
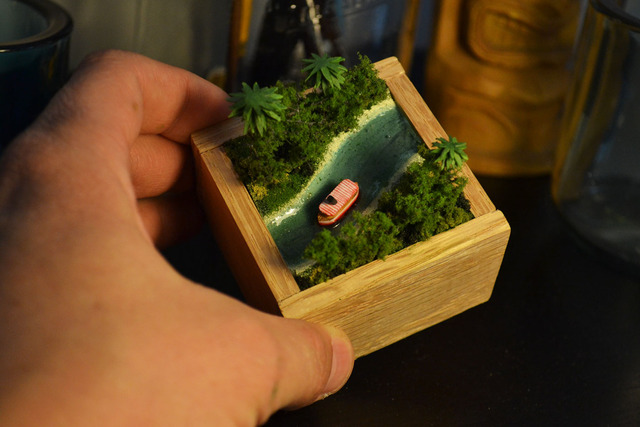
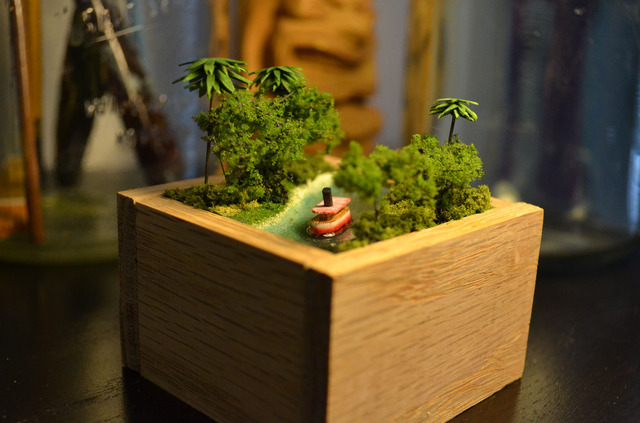
And finally....... the finished product.
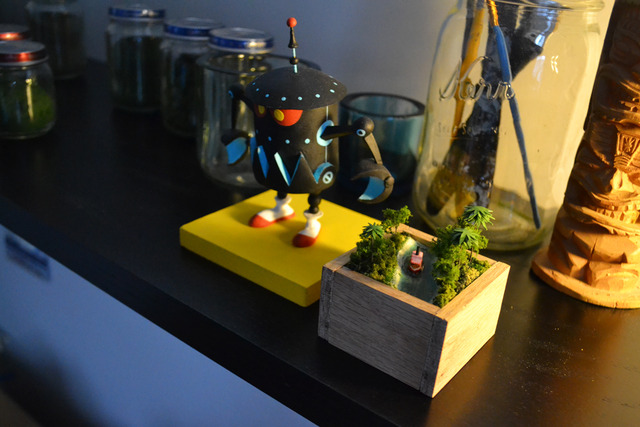
Up on the shelf it goes. Right next to my Ward Kimball Mars and Beyond homemade robot. Read about him in this earlier blog post.
Related posts:
Mars and Beyond Robot
EPCOT City Model [Part 1]
Swiss Family Treehouse Model
Mechanizing a Miniature Main Street Electrical Parade
The Wonders of Nature's Wonderland [ PART 2 ]
 Jungle Cruise,
  Scale Models


